Intro
In this blog post I want to show the easiest and fastest way (that I found) to build a full functioning chatbot. The tutorial is held quite simple on purpose, so that you can get quick results.
You can find the project live on: SvelteLabs
What is SvelteKit?
" SvelteKit is built on Svelte, a UI framework that uses a compiler to let you write breathtakingly concise components that do minimal work in the browser, using languages you already know — HTML, CSS and JavaScript. It's a love letter to web development.
Whereas Svelte is a component framework, SvelteKit is an app framework (or 'metaframework', depending on who you ask) that solves the tricky problems of building something production-ready: Routing, Server-side rendering, Data fetching, Service workers, TypeScript integration, Prerendering, Single-page apps, Library packaging, Optimised production builds, Deploying to different hosting providers, ...and so on "
SvelteKit literally saved my passion for developing web applications. I "had to" use Angular at work, and while you can most definitely get a lot of things done with it, I was craving a simpler approach to web development. If I recall correctly, it was one of Fireship's videos that inspired me to give it a try, and I have not looked back since.
Disclaimer: You do not have to use SvelteKit to use LangChain. Any JavaScript framework or even Plain old JavaScript and server endpoints will do. I personally like SvelteKit because the server and client are closely coupled together, which is especially useful for AI centered applications.
Let's move on to the main star of this blog post: LangChain!
What is Langchain?
" LangChain is a framework for developing applications powered by language models. It enables applications that: Are context-aware: connect a language model to other sources of context (prompt instructions, few shot examples, content to ground it's response in) Reason: rely on a language model to reason (about how to answer based on provided context, what actions to take, etc)"
When I first started playing around with chatbots I heard about LangChain but I thought it was just a Python library. Turns out, they have almost everything also available in JavaScript and thanks to SvelteKit's architecture of keeping the server code close to the client code, the setup is pretty much zero effort:
Setup
First, let's initialize a SvelteKit project. Select 'SvelteKit demo app', Yes to Typescript, Yes to ESLint and Prettier (optional)
npm init svelte@next my-first-chatbotThen go into the directory and install the dependencies and run it.
//console
cd my-first-chatbot
npm install
npm run dev -- --open
You should see...
Okay it works! Now let's install Langchain and the AI package:
npm install --save langchain aiWait....what is that AI Package?
We are also installing Vercel AI SDK - An open-source library for building AI-powered user interfaces.
"The Vercel AI SDK is an open-source library designed to help developers build conversational streaming user interfaces in JavaScript and TypeScript. The SDK supports React/Next.js, Svelte/SvelteKit and Vue/Nuxt, as well as Node.js, Serverless, and the Edge Runtime."
We want to make our first chatbot as simple as possible. The Vercel AI SDK will abstract away some complexity that we have to otherwise deal with ourselves (stream handling, message handling, loading state etc).
First, let's go ahead and set up our frontend.
<!-- src/routes/+page.svelte -->
<script>
import { useChat } from 'ai/svelte';
const { input, handleSubmit, messages } = useChat();
</script>
<div>
<ul>
{#each $messages as message}
<li>{message.role}: {message.content}</li>
{/each}
</ul>
<form on:submit={handleSubmit}>
<input bind:value={$input} />
<button type="submit">Send</button>
</form>
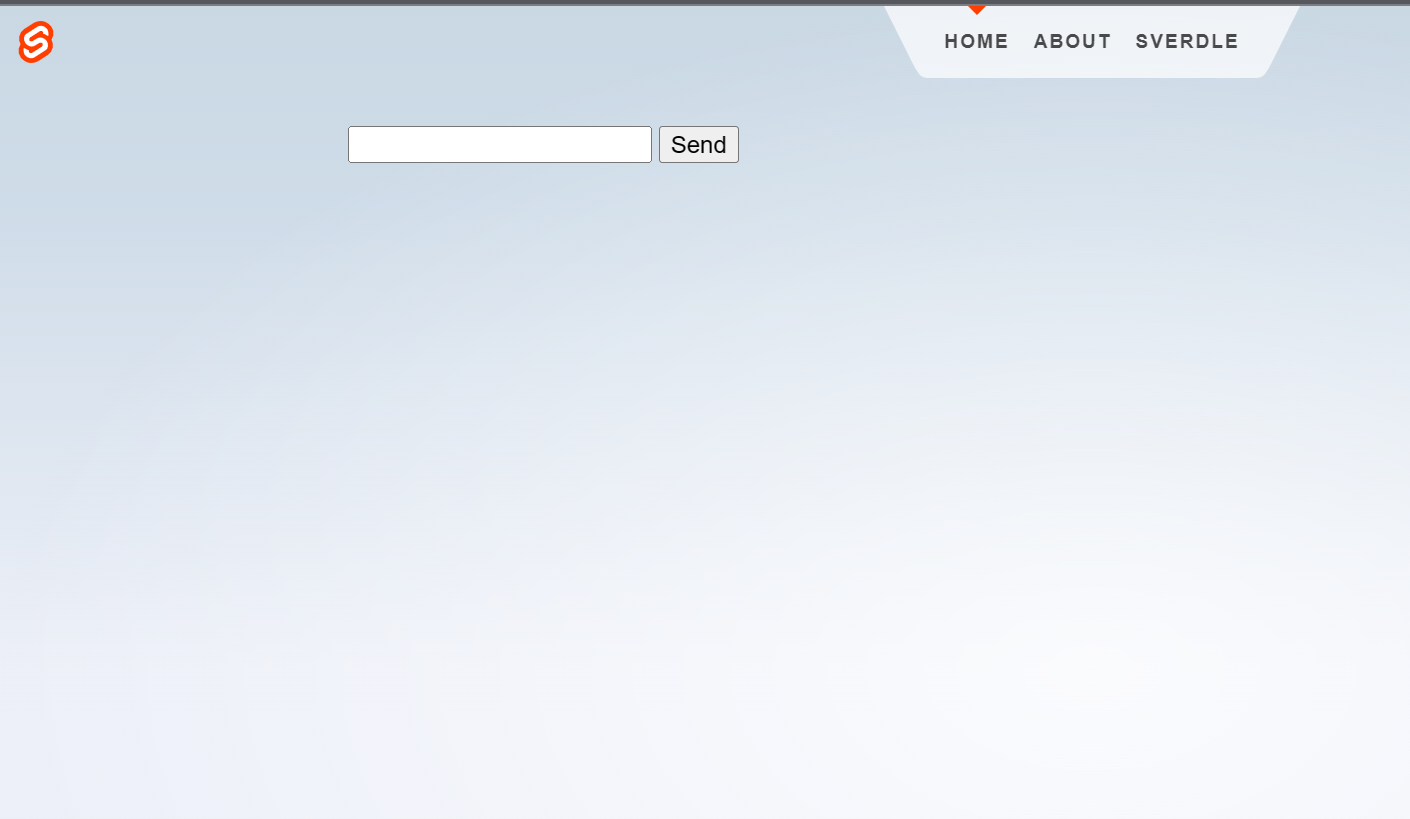
</div>Here is our chat interface. It's a simple form with an input field and a button. Not very pretty, but that will do for now.
The interesting part here is the useChat() method. As you can see it gets destructured into multiple variables.
const { input, handleSubmit, messages } = useChat();Input is literally the input value or you can also see it as the "prompt" for the chatbot.
handleSubmit is a function that gets called when the form is submitted. This is a predefined function that comes with the AI SDK and expects to have an event passed in. The event gets generated and passed in automatically from the on:submit trigger, so we don't have to think about it too much, but this is good to know if we want to write our own submit logic later on.
Messages is a store that contains the current messages in the chat. You can also see it as the "chat history".
Let's click the button and see what happens... oh yeah, nothing happens. That is, of course, because we are missing the counterpart of this equation. The server-side code that calls ChatGPT (or any LLM of our choice).
The default path of our API route is /api/chat/, so let's create a +server.ts file there with the following code:
// path: /api/chat/+server.ts
import { StreamingTextResponse } from 'ai';
import { ChatOpenAI } from 'langchain/chat_models/openai';
import { AIMessage, HumanMessage } from 'langchain/schema';
import { RunnableSequence } from 'langchain/schema/runnable';
import { BytesOutputParser } from 'langchain/schema/output_parser';

//server endpoint for chatGpt Stream Chat
export const POST = async ({ request }) => {
	const { messages } = await request.json();

	const chain = RunnableSequence.from([
		new ChatOpenAI({
			temperature: 0.8,
			openAIApiKey: //your openAIApiKey
		}),
		new BytesOutputParser()
	]);

	const stream = await chain.stream([
		...messages.map((m) =>
			m.role == 'user' ? new HumanMessage(m.content) : new AIMessage(m.content)
		)
	]);

	return new StreamingTextResponse(stream);
};
This is all it takes to write the whole endpoint. How awesome is that❤️
Let's go through the code step by step.
import { StreamingTextResponse } from 'ai';
import { ChatOpenAI } from 'langchain/chat_models/openai';
import { AIMessage, HumanMessage } from 'langchain/schema';
import { RunnableSequence } from 'langchain/schema/runnable';
import { BytesOutputParser } from 'langchain/schema/output_parser';
First we have imports. As promised we are using Langchain and the packages from Vercel AI SDK.
export const POST = async ({ request }) => {
	const { messages } = await request.json();

	//...
Here we get the messages from the body of the request. These are the messages that will be exchanged between the user and the chatbot. This is important because it allows the chatbot to "remember" our conversation!
Info: If your application does not need to remember the conversation, you can also just pass the last message (which will be the user's last input). This can be useful because sending all messages takes up space in our limited context.
export const POST = async ({ request }) => {
 //...
 const chain = RunnableSequence.from([
	new ChatOpenAI({
		temperature: 0.8,
		openAIApiKey: //your openAIApiKey
	}),
	new BytesOutputParser()
]);

	//...
};
My favourite way to use Langchain is with "Expression Language" Sequences. A RunnableSequence allows us to chain together parts of the Langchain ecosystem in a sequencial order.
In our chain we define OpenAI (ChatGPT 3.5 turbo) as our LLM and pass it's output into a BytesOutputParser which will cut up the result into chunks that can be streamed.
Expression Language is newest way to use Langchain and I consider it the simplest and most concise. If you would like to learn more about it I have an entire blog post about it here!
const stream = await chain.stream([
	...messages.map((m) =>
		m.role == 'user' ? new HumanMessage(m.content) : new AIMessage(m.content)
	)
]);

return new StreamingTextResponse(stream);
For OpenAI to understand our messages, they first have to be converted to a certain "chat" format. In this case we will convert them to an array of HumanMessage and AIMessages.
The converted messages are then ready to be passed into our chain and run through the previously defined steps of our sequence.
After that is done all that is left is to return the stream as StreamingTextResponse which will enable us to stream the response back to the front-end.
To summarize the flow of the endpoint is as follows: send messages from front-end → endpoint retrieves and converts messages → openAI answers to messages → openAI output gets chunked with bytes output parser → send stream from endpoint back to front-end.
With the server done, all that is left is to test the chat. Let's go back to our +page.svelte and try it out!
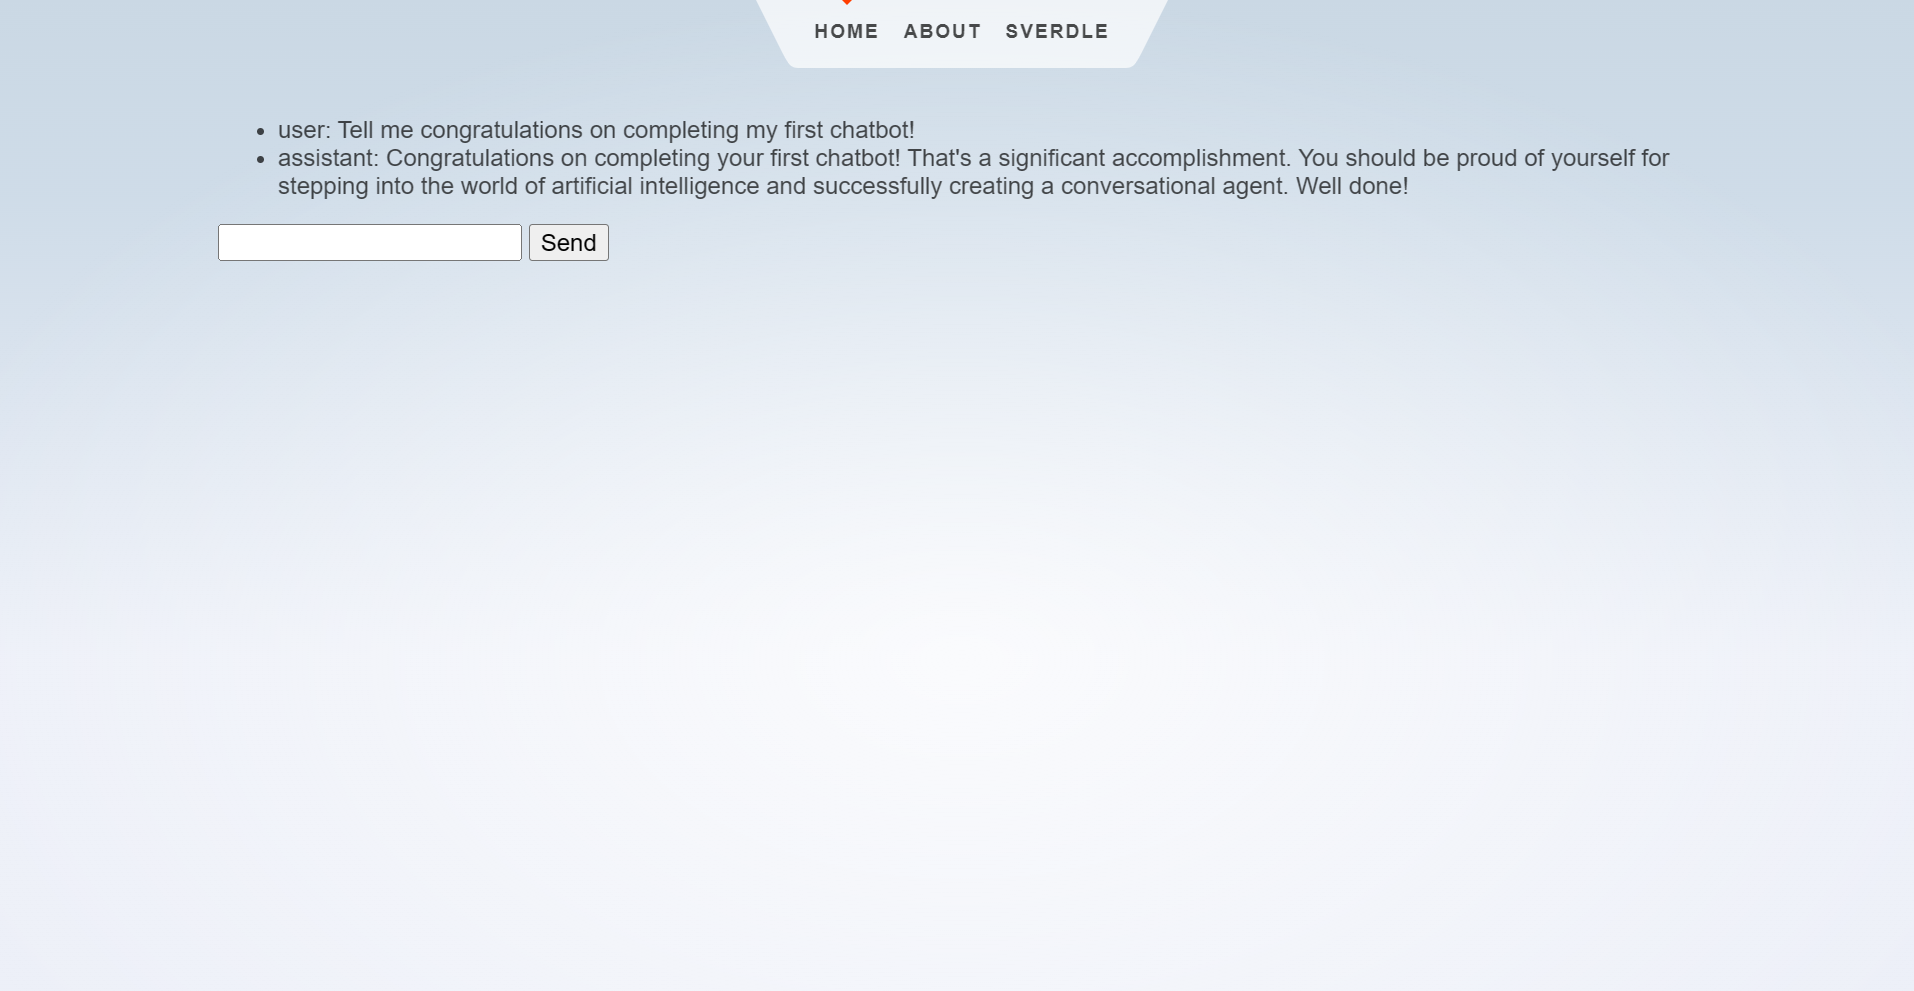
Congratulations, we did it! 🎉
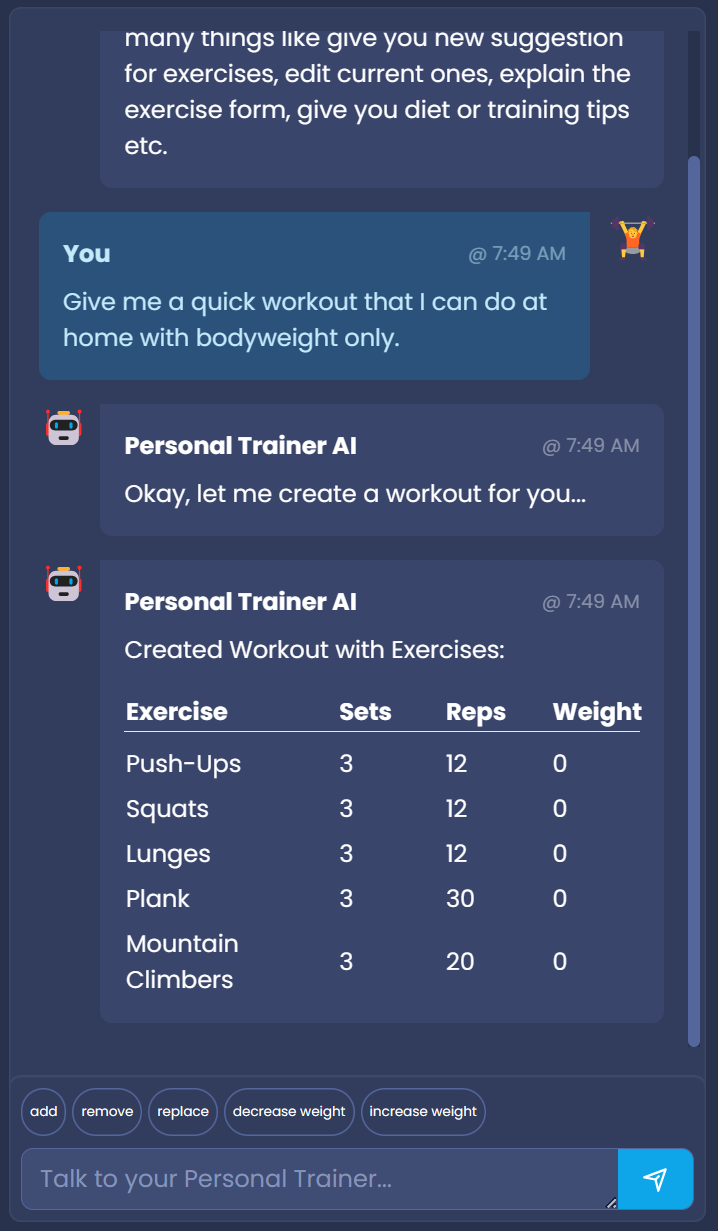
Admittedly the interface is....less than optimal. But with a little bit of effort you can turn the chat into something like this:
Conclusion
As you can see building the foundation of your very own chatbot with SvelteKit and Langchain is quite simple and fast. What will probably take you the most time is adapting it to your usecase.
Now, as mentioned before, this blog post is intentionally kept simple. If you are interested to learn more, I will soon do more in-depth tutorials.
Thank you for reading, and see you next time!! 👋